

Crown Of Sorrow Final Boss

Crown of Sorrow raid guide - Destiny 2
A complete Crown of Sorrow raid guide in Destiny ii, the last raid added with the Season of Opulence.
The Crown of Sorrow is the final raid released equally part of the Destiny two Annual Laissez passer and was included with the Season of Opulence. This is an extremely challenging raid that sees players delving again into the depths of the Leviathan. To help you claim the ultimate victory, we've put together a consummate Crown of Sorrow raid guide.
- Witch's Ritual
- Kingdom of Sorrow jumping puzzle
- Gahlran'due south Deception
- Gahlran, the Sorrow-Bearer
Crown of Sorrow raid guide
Set in the belly of the Leviathan, the Crown of Sorrow raid has players venturing into uncharted areas to quash a powerful Cabal-Hive hybrid that Calus created. Though probably as short equally Eater of Worlds, the Crown of Sorrow is likely equally challenging as Spire of Stars. Well, the final come across can get a flake hectic, simply the first few encounters are rather elementary.
Crown of Sorrow has a recommended Power of 740, so expect to meet some heavy resistance. The commencement encounter kicks off at 720, and then the entry signal isn't quite as high. Despite this, it's well worth exhausting all ways to get Powerful gear in Season of Opulence to push your Power level as high every bit possible.
Earlier starting the Crown of Sorrow raid, information technology's of import that players are prepared for the fight ahead.
Weapons to use
These days, Outbreak Perfected is going to be the top pick for most encounters. If yous oasis't already, make sure you've completed the Zero Hour mission to unlock Outbreak Perfected and even effort the configuration puzzles so you can get the Exotic goad and boost its harm output. When y'all have a total Fireteam of six players using this Exotic Pulse Rifle, fifty-fifty yellowish-bar enemies get chewed up. You volition want to supplement it with a Shotgun, Fusion Rifle, or Submachine Gun in your Energy slot. There are very few opportunities for a Sniper Rifle, so keep it close range.
As for your Power weapon slot, this is a fiddling scrap more difficult. Now that Whisper of the Worm has been nerfed, it could be time to discover a replacement Heavy weapon. A stand-out selection is the Wendigo-GL3, the Vanguard peak Grenade Launcher. For maximum boss damage throughout the raid, a team of Grenade Launchers with the Spike Grenade perk on each is as good as it gets. A Void Grenade Launcher with a 5-round Magazine, Fasten Grenades, and 150 RPM (rounds per infinitesimal) is wonderful. Recall Swarm of the Raven in Fe Banner, but also, end throwing away those Edge Transits until you become a good expect at the perks.
What form to utilise
Warlocks using Well of Radiance is without a incertitude i of the most useful classes to use during the commencement encounter, and potentially the last. This allows your team to control areas and simply survive. In fact, ii Warlocks with Well of Radiance is a pretty good bet throughout the raid.
Hunters should consider using Bract Barrage or Shadowshot to either clear out waves of enemies or provide ample Orb of Light generation. Shadowshot should not exist used on the concluding boss, but should instead exist used to control enemies and Thrall during the final boss impairment phase. Aureate Gun (Way of the Sharpshooter) with Celestial Nighthawk tin be useful due to its ability to obliterate Ogres, who are a problem throughout nearly of the raid. Even so, Blade Barrage is cracking in the final meet when it'due south crucial to clear several enemies in quick guild.
Titans might like to opt for Sunbreaker (Lawmaking of the Burn-Forged) with a special focus on Hammer Strike or even Banner Shield for the added protection for your allies. Hammer Strike tin can be used to apply an extra damage vitrify to bosses.
Witch's Ritual
The kickoff come across in Crown of Sorrow doesn't have a dominate, so it's simply known equally the Witch's Ritual. Players will need to pair up in a yin-and-yang scenario to take downwardly enemies and bandy buffs.
- Three players stand in the Hive ritual and get the buff
- Articulate enemies until 3 crystals spawn
- Destroy the crystals by pairing up with a Blest and Not-Blessed and shooting information technology
- Group up on the ball and shoot it to reverse your buff
- Repeat this procedure, defeating Ogres as they appear
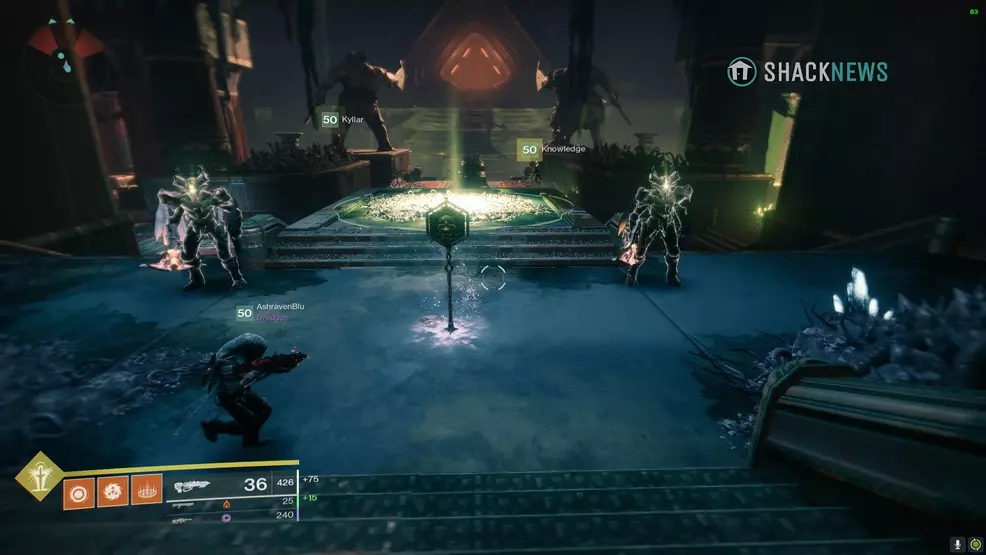
The main mechanic of the Witch'southward Ritual fight is something called the Witch'south Approving. This buff lasts for 60 seconds and allows the affected histrion to kill Blessed enemies. However, a player with the Witch's Blessing cannot damage Non-Blessed enemies. After lx seconds, the Blessing will turn into the Witch's Curse and shortly thereafter the player volition dice.

To prevent the Witch's Curse, players must use the sphere at the front-center the room to flip their buff/no-buff. Players volition demand to shoot the sphere with someone of the contrary buff country. All players will need to be within the effect radius of the sphere or their vitrify will not be removed/they will not receive the buff. The sphere is only an on/off switch.
A good strategy seems to be grouping effectually the sphere and using Well of Radiance for protection. This ensures all players are close to the sphere when information technology comes time to switch. Kill enemies, ensuring that the Blessed players take down the Knights and the non-Blessed focus on the Thralls. Players can stand next to this sphere for nearly the entire encounter, only really needing to wander away when they need to locate and shoot a cystal.
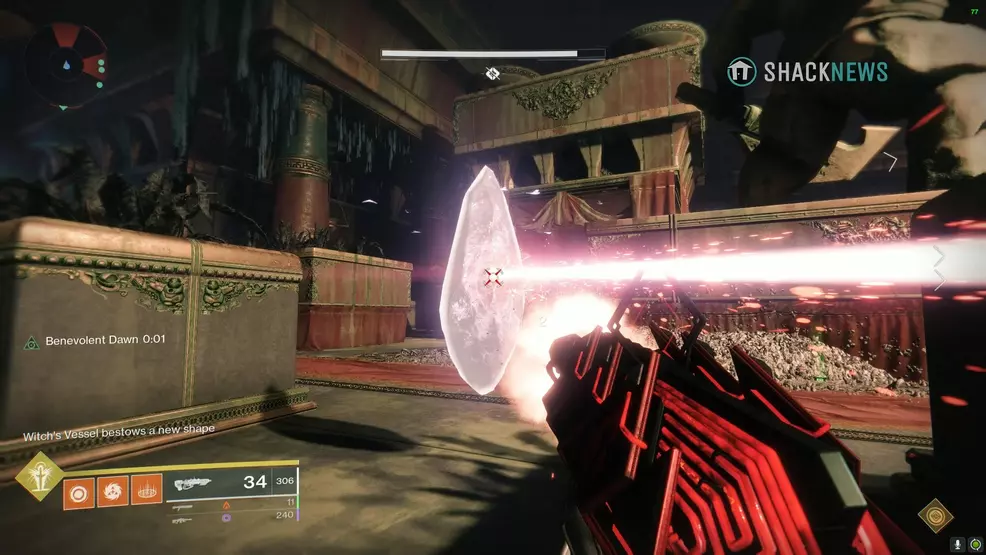
When the crystals spawn, pair off in a Blest and non-Blessed to destroy the crystals. Two players should destroy the crystal on the left, 2 should focus the crystal in the heart, and two should destroy the ane on the correct. The crystal's spawn point is random, then you will demand to detect it.
Return to the sphere, and if it's needed, switch the buffs. Those players with the Witch's Blessing should be counting downwards the seconds and calling out when a switch is required. If you find that there are 20 seconds remaining before a switch is needed, but you take a few seconds of downtime, initiate the switch. You lot practise not have to wait the full 60 seconds, and information technology's all-time non to push button the timer if you don't need to. That's merely inviting mistakes to happen.
As y'all progress, Ogres will spawn, 1 on each side. 1 of these Ogres is Blest and the other is not, so make sure you're shooting the right Ogre.
Echo this entire procedure until all four of the braziers across the gap have been lit. Not a lot of attention needs to exist paid other than killing enemies, switching buffs, shooting cyrstals, and owning Ogres. Do that until you get that sugariness loot!
In the issue someone has missed out on getting the Blessing, you lot will demand to work out on the fly what player will stay exterior of the sphere'southward radius during the next switch. If four players are Blessed, yous will demand to have one non-Blessed thespian running around shooting the crystals in plough.
Kingdom of Sorrow jumping puzzle
The second see in the Crown of Sorrow raid is the Kingdom of Sorrow jumping puzzle. Players will need to use the Blessed and not-Blest mechanic to destroy crystals which raises upwards more bongo-similar pistons.
- Accept 3 players become the Witch's Blessing
- Pair-upwardly and jump beyond the pistons
- Destroy the crystals with your partner
- Go on to the sphere platform and activate information technology to switch the Blessing
- Repeat until you lot cross the gap
The Kingdom of Sorrow jumping puzzle is rather easy and just requires a bit of communication. You will need to ensure that each crystal is destroyed as quickly as possible. Taking too long means the Witch's Blessing will turn into the Witch's Curse, killing your players and prevent progress.
As you lot actually work your way to each sphere platform, the pistons will drop away behind you. In fact, if yous're non fast enough, the pistons will drop correct from under y'all.

Some of the crystals will exist inside protective shields, both a Blessed and non-Blessed actor will need to arrive into the shield to destroy the crystal.
The key to this encounter is speed. Endeavour and go as fast as possible and try to keep your shooting to a minimum. You don't want to run out of ammo as you get closer to the terminate.
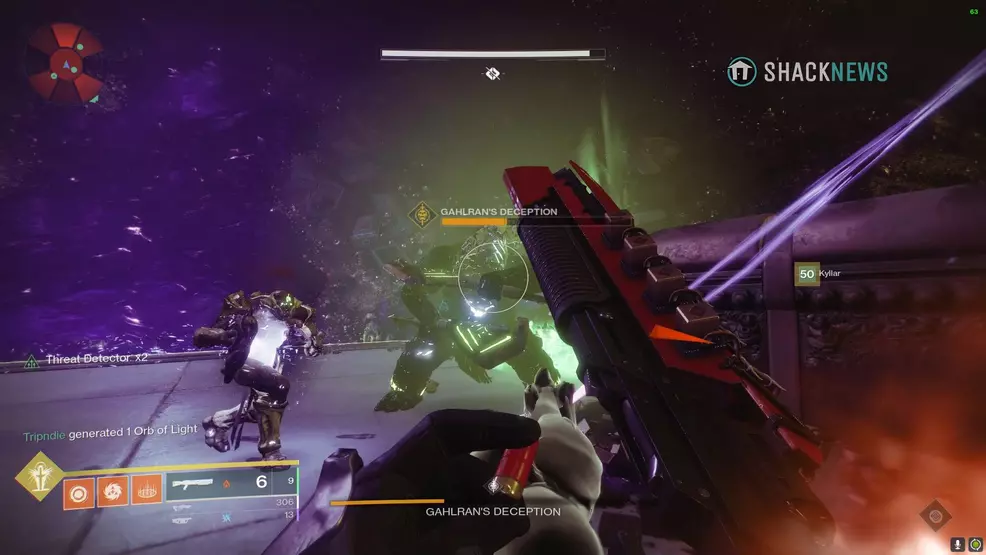
Gahlran's Deception
The fight against Gahlran'southward Deception has the arena split up into three distinct sections, with segments slowly joining until all players can fight the Deception.
- Divide into pairs and pick a section
- One player from a single pair will collect the Witch's Blessing
- Kill Wizards, Ogres, and avoid Gahlran's Deception
- Use the Vessel to flip the buffs, which will also remove ane wall
- Continue to clear enemies and so use the Vessel to flip buffs, removing the final wall
- A Blest and Non-Blessed dial Gahlran's Deception to remove his shield
- Damage the Deception until his shield returns, and then remove it over again
- Split up once more and repeat the steps until Gahlran's Deception dies
Begin the fight past splitting into pairs and picking a corner. Shoot Gahlran to initiate the fight, at which bespeak a few things will happen: walls will appear and split the arena into dissever areas, a pool for the Witch'southward Blessing will appear in i section, and Gahlran will appear in a section.
The team with the Witch'due south Blessing volition assign one player to go the buff. At this bespeak, all the players will need to clear enemies until Ogres spawn. Killing all three Ogres spawns a Vessel. The team with the Witch's Approving (both members) will demand to stand up near the Vessel and one histrion from the pair next door volition need to stand up there too. Shooting the Vessel will result in ii players having the Blessing and two players without. Remember, the Vessel only flips players betwixt blest and non-blessed.

Continue to clear enemies and one time the three Ogres dice, all players will need to stand most the Vessel, including those in the section with Gahlran'due south Deception. Once the Vessel is shot, this will event in two players without the buff and 4 players with the Witch'south Approving.
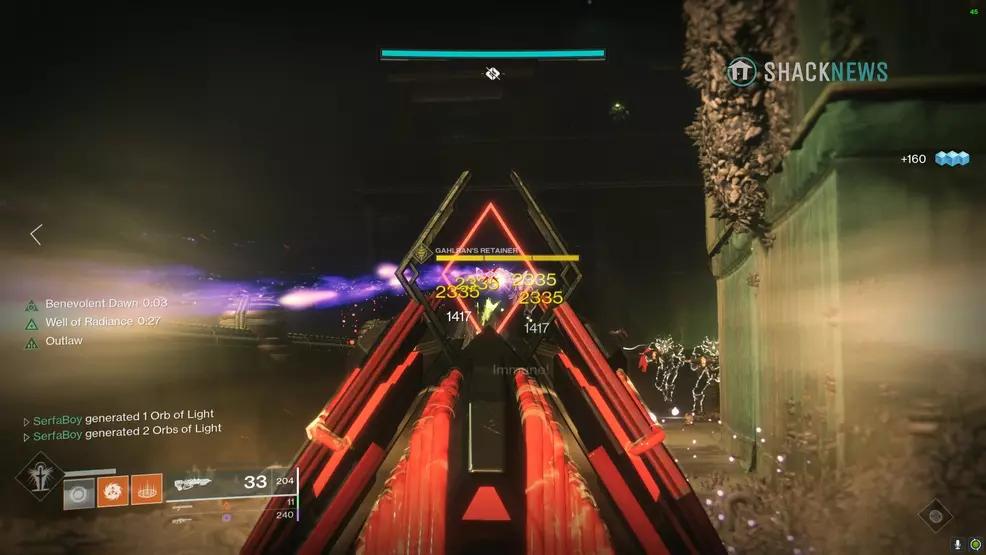
From here, players will need to work in pairs to accept down the shield of Gahlran'due south Deception. I role player without the buff will call forwards one player with the Witch's Approving. These two players will punch Gahlran'southward Deception, which will explode the shield and eat the Witch's Blessing. At this point, players volition demand to impairment the Charade. Once the shield returns, accept downwards the shield again. Be careful, though, as the explosion of the shield disappearing volition remove the Witch's Blessing from any actor that is too close. Ideally, you should be able to take down the shield four times.
Information technology's important to note that merely players without the Witch'south Blessing can damgae Gahlran. Since the dominate-damage portion of this encounter starts with four players with the Witch'southward Blessing and two without, it plays out similar this: I role player with the Witch's Blessing and one without approach Gahlran and lower his shield. Because the shield explodes and removes the Witch'south Approval from anyone nearby, there are now three players with the Witch's Blessing (who cannot damage Gahlran) and three without it (who tin can impairment Gahlran). For this reason, the offset phase of this boss-damage section will take three people doing damage and iii not. Once Gahlran's shield returns, 1 player with the Witch's Blessing and ane without will lower his shield. Now there are four players without the blessing doing impairment, and two with information technology who are not. Yous keep lowering the shield each fourth dimension it returns, and on the final stage all half dozen Guardians should be doing harm. For this reason damage can starting time off dull, but picks up dramatically as yous get more Guardians putting the hurt on Gahlran.
In terms of dissentious Gahlran's Deception, a Well of Radiance, Tractor Cannon, Hammer Strike, and even a Imprint Shield are all groovy at increasing damage output. Outbreak Perfected, a high-impact shotgun, and Wendigo-GL3 are all fantabulous choices for weapons. These damage buffs can help y'all i-stage Gahlran. If Gahlran's Charade isn't defeated during the first rotation, render to your sections and repeat the procedure.
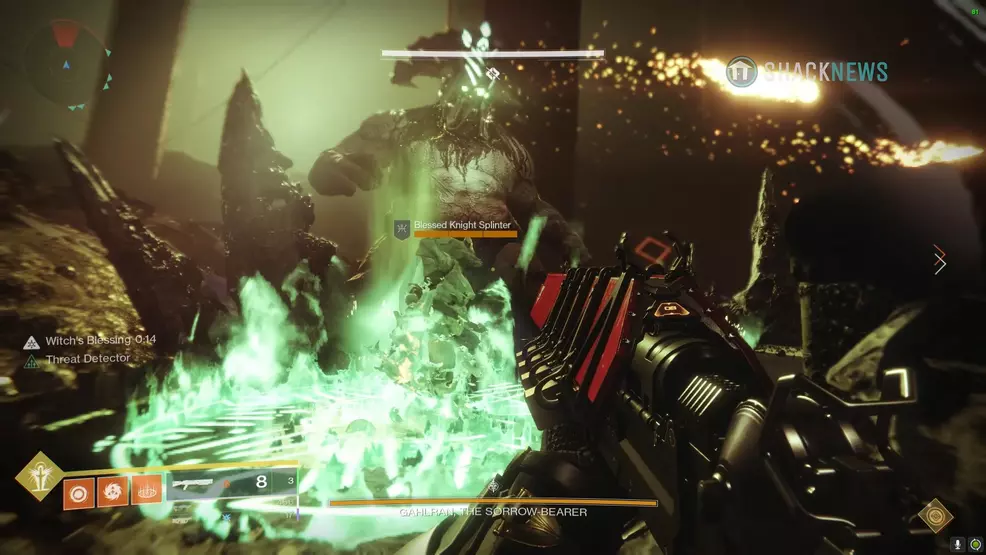
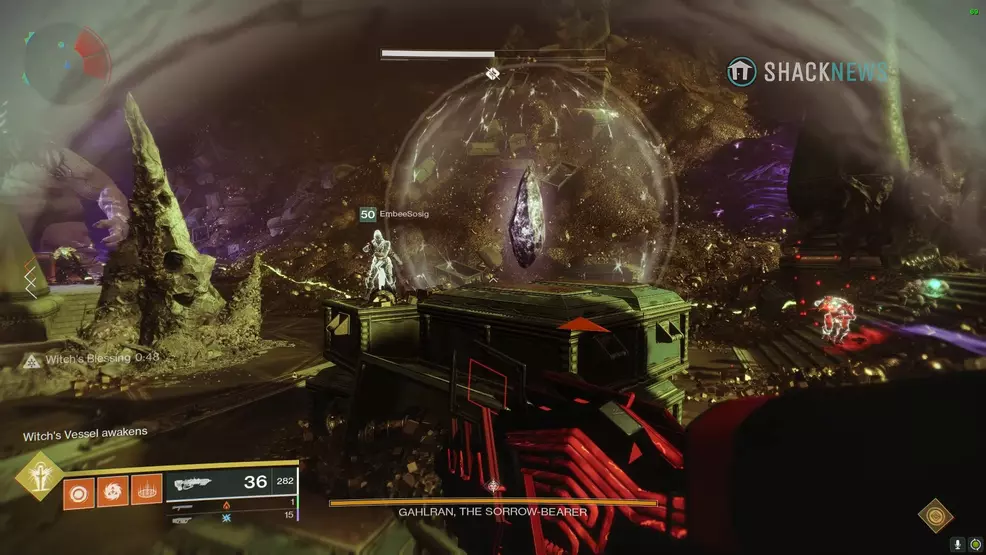
Gahlran, the Sorrow-Bearer
The final fight in the Crown of Sorrow raid is against Gahlran, the Sorrow-Bearer. This fight has players juggling crystals, Ogres, and three Gahlran'southward Deceptions.
- Start the fight and go three players with the Witch'due south Blessing
- Split into pairs and defeat Knights, an Ogre, and flip the buff using the Vessel
- Destroy the crystal with a Blessed and non-Blessed when it appears in your section
- Remove the shield of Gahlran'south Deception with a Blessed and non-Blest when he's at the top of the stairs
- Shoot Gahlran'southward hand when it glows green to cause him to slam the basis, destroying the Deception
- Once all iii Deceptions are defeated, shoot both of Gahlran's hands as they glow green, and so shoot his face
- Ii Gahlran'south will disappear, group up on the final Gahlran and prepare to deal harm
- Shoot Gahlran's hands to stun him, then shoot his head to crit. Repeat this until the harm phase ends.
- Render to your section and repeat the steps
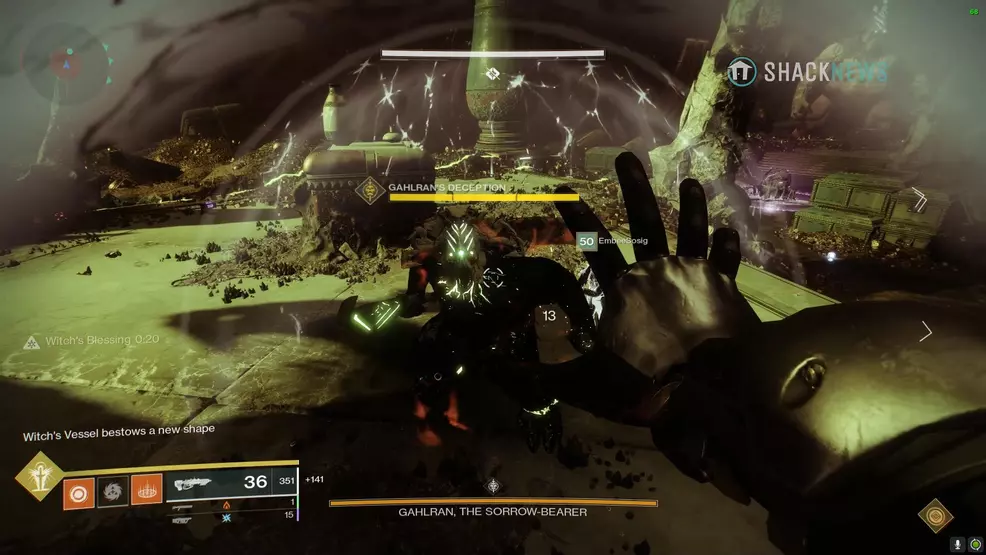
The fight against Gahlran, the Sorrow-Bearer is much the same equally the previous come across, except this fourth dimension there are no walls and the Vessels respawn faster. There is also a crystal that spawns clockwise around the room that must be destroyed.
Once the come across starts, a puddle will spawn and three players will demand to get the Witch'southward Approval. Pair off with a not-Blessed player and go to a section. Kill the Knights and then the Ogre, existence sure to flip the buffs with the Vessel when necessary. It lasts sixty seconds, but flip at nigh 40-45 to be sure. Employ the Vessel to the correct of your area (clockwise) when yous are facing the stairs, this way no team is doubling-up on a Vessel.
A Gahlran'due south Deception volition spawn in your area, at this signal you lot must have down its shield when it's at the top of the stairs in front of Gahlran. To do this, have one actor with a Witch's Blessing and one not-Blessed histrion melee it. The Deception volition be stunned. Gahlran volition shoot five fire bolts out of his paw, after which you must shoot his green hand to stun him. He will then destroy the Deception with an axe. It's important to go along track of the rotating crystals hither. If you accept the cyrstal, or see that y'all volition have it next, don't lower Gahlran's shield. Wait for the cyrstal, destroy information technology with one blessed and i not-blessed Guardian, so take downward Gahlran's shield. If you take down the shield start, your section will have two not-blessed Guardians, and that won't to destroy the crystal, which is where things get hairy.
If y'all lose your Blessing (and your partner is also a non-blest Guardian), stand near the Vessel and clearly communicate that you need a Guardian with the Witch's Approval to shoot information technology from a distance while you lot're as well doing the aforementioned. This will render your section to 1 blessed and 1 non-blessed, at which signal you can handle crystals and Ghalran'southward shield.
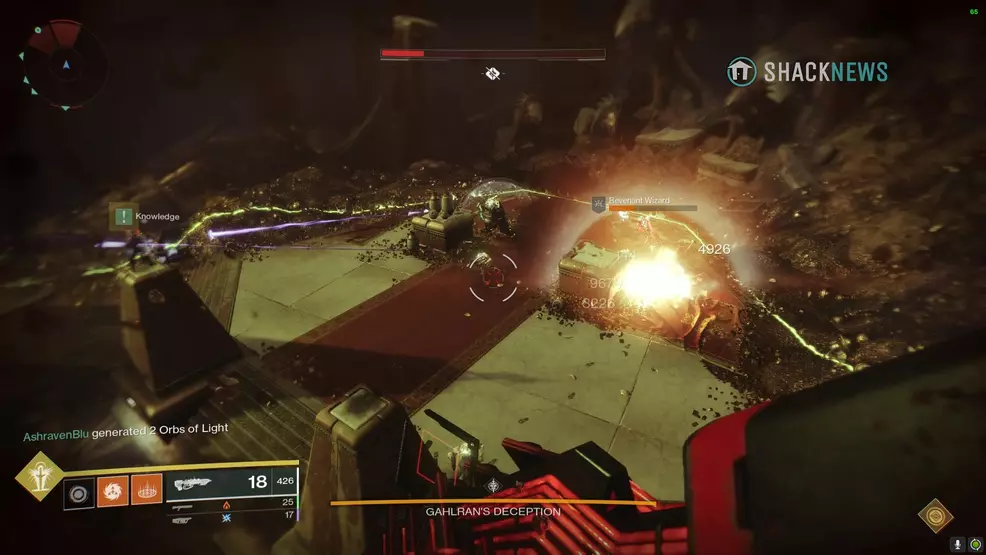
When three Gahlran'due south Deceptions dice, each of the three Gahlrans must be stunned. To practice this, work with your partner to shoot both of Gahlran's easily and then his head. Two of the Gahlrans will disappear, leaving one alive.
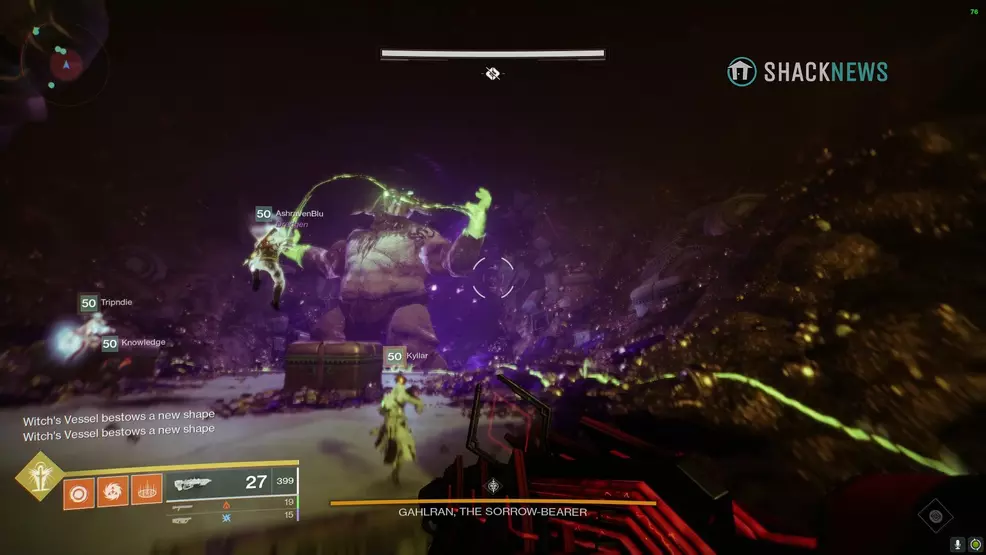
Flip the buffs once more to reset the 60-second timer and so group up every bit a Fireteam nearly the remaining Gahlran and become ready for the impairment phase. Shoot Gahlran's hands to stun him and so shoot his head for disquisitional damage. When his head goes immune, shoot his hands once again to stun him. Echo this procedure until the damage phase ends or when he dies. Recall to be applying the Hammer Strike and Tractor Cannon buffs, but this should exist one Guardian. The other 5 should be melting the boss with that sweet Grenade Launcher with Spike Grenades damage.
Though any weapon is feasible, in that location are some standout options when attacking Gahlran. If all players on your team have information technology unlocked, a Masterworked Outbreak Perfected does tens of thousands of damage. However, in the electric current meta, a Grenade Launcher with the Fasten Grenades perk (as mentioned previously) leads the mode, such as Play of the Game or Swarm of the Raven.
The Crown of Sorrow raid is a deeply rewarding claiming that all players should try and endeavor at least once. While it may not be possible for all Fireteams to tackle it in the first week, hopefully past using this raid guide, and past acquiring Powerful gear, you lot will be able to clear the Crown of Sorrow and abound fat with strength, just as Emperor Calus wants. For more raid guides, cheque out the Shacknews Destiny 2 complete strategy guide.


Crown Of Sorrow Final Boss,
Source: https://www.shacknews.com/article/112160/crown-of-sorrow-raid-guide-destiny-2
Posted by: doggettwelithis.blogspot.com
0 Response to "Crown Of Sorrow Final Boss"
Post a Comment